
This month, for Amy Warden’s Soap Challenge Club, I made landscape soap! This is the first time I’ve tried to recreate a particular image with soap. So, I searched the internet for a beautiful photo of Colorado. This is what I found:
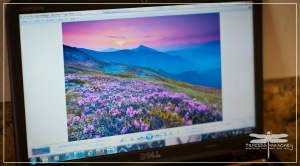
I love this photo! I love the blues and the pinks and how it reminds me of my home.
The next step was to cut the photo into 12 slices in Photoshop, and pixel stretch each slice to give me an idea what each layer should look like. Here’s what one slice looked like:

So then, looking at all the slices, I chose a color palette and estimated how much of each color I would need. Then I selected a bunch of micas to mix for the colors.


Next, I mixed my up my soap batter, using my signature recipe. It’s slow tracing, so I knew it wouldn’t let me down for this technique! I used a fragrance called “sunny herb garden” from Brambleberry. I thought it would be perfect for conjuring up the feelings of being on a mountainside in sunny Colorado. Next, I divided and mixed my colors. I only had four squeeze bottles, so I put the rest in pourable measuring cups. If I ever attempt this again, I will make sure to have a squeeze bottle for each color! It was really hard to get my lines straight and tidy trying to use a spoon and the measuring cup.

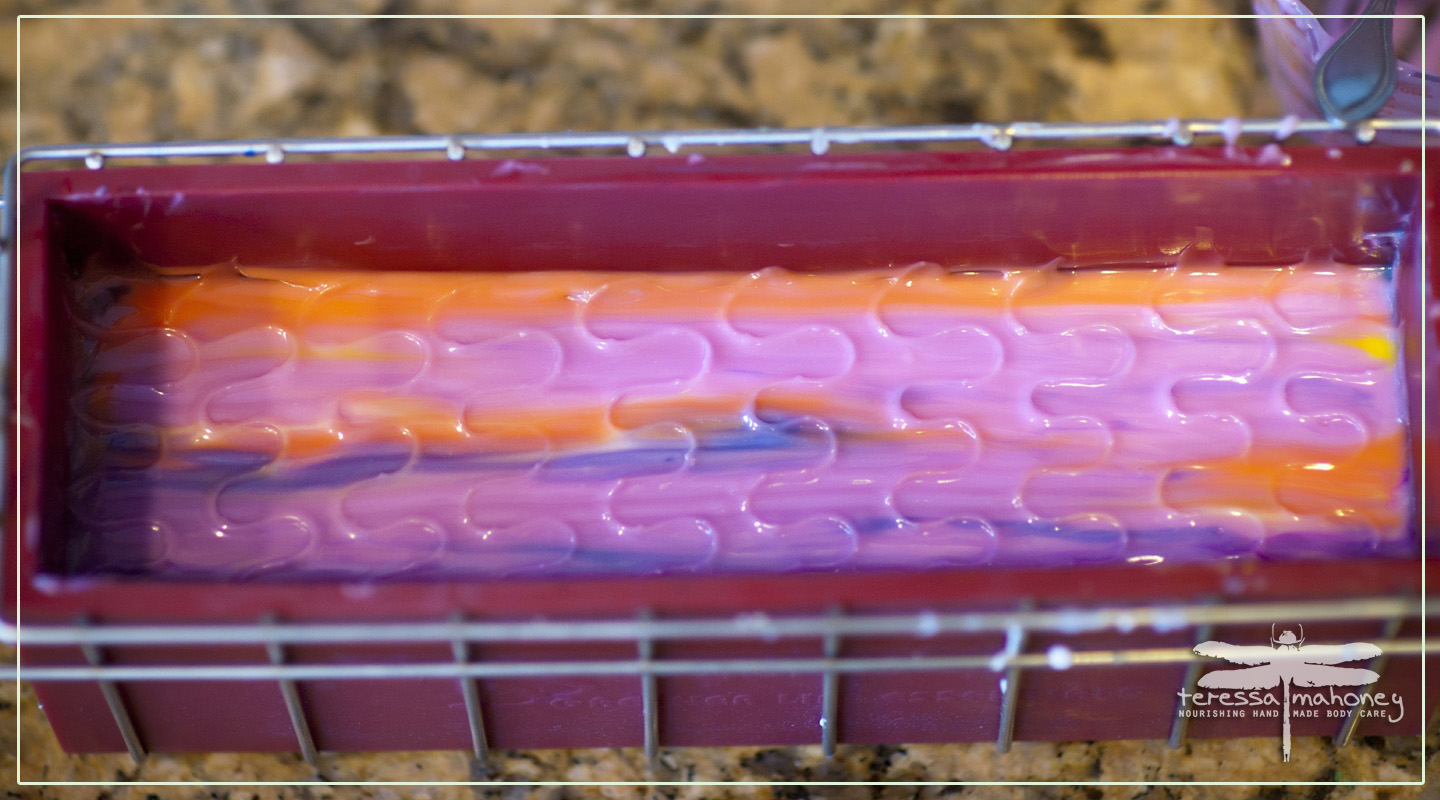
Finally, they were all poured and squeezed into the mold in layers, and I had a little fun on the top, using a tool I made of craft wire. I learned about this technique from Auntie Clara. You can read about it here. And last, but not least, I sprinkled the top with glitter. I got this really cool set of glitters from TKB trading. They come as a set, and each one has a shaker top. Sprinkling glitter on the top of soap may be one of my favorite things in the world.


Then came the worst part: WAITING. And waiting, and waiting. I have been having a problem with the corners of my soap sticking to my mold if I don’t wait the full 24 hours to unmold it. But who can wait 24 hours to find out if your masterpiece is really a masterpiece or just a bunch of messy colors plopped in together??? Well, I survived the torturous wait, and . . . .
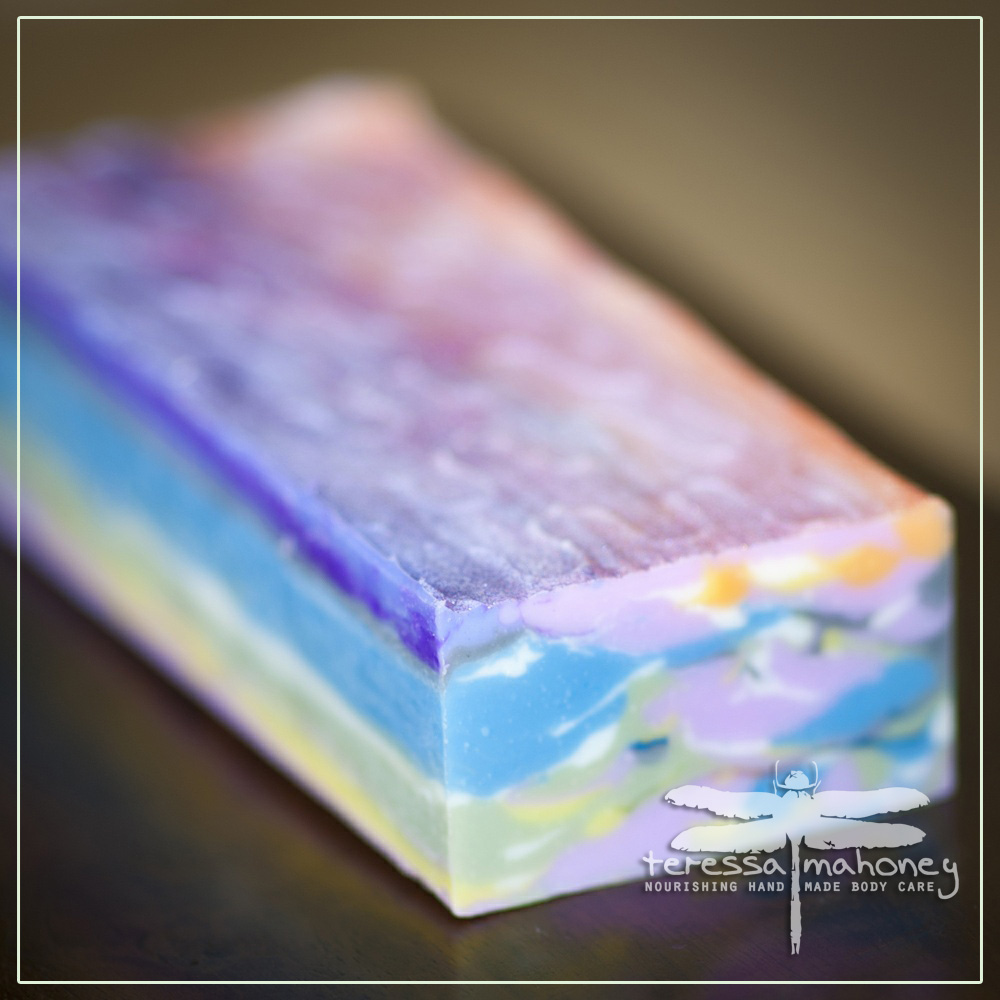

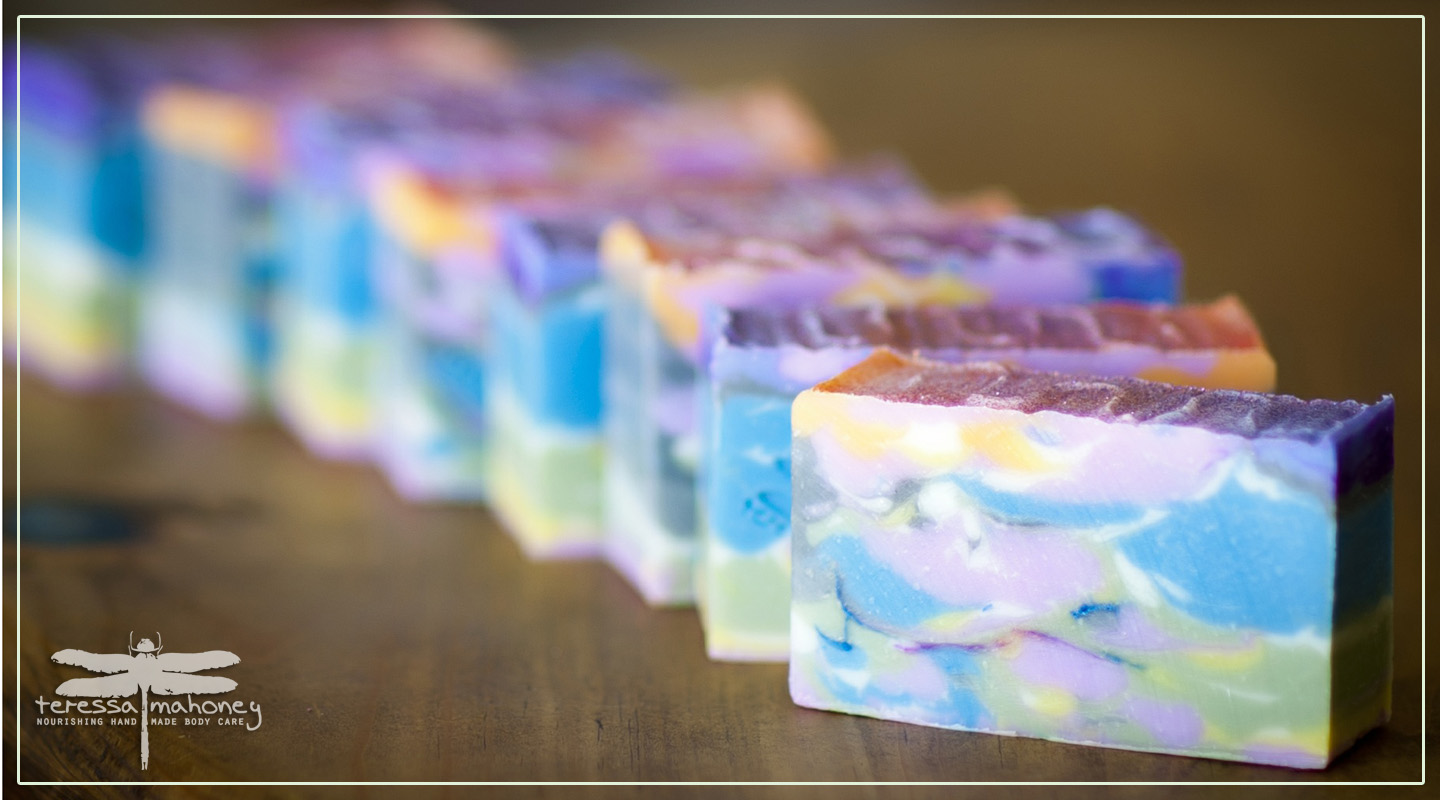

We have landscape soap! It is not as much like my inspiration photo as I had hoped. (In my mind, the slicing technique was going to recreate that beautiful photo perfectly.) But, I can definitely see the mountains, the flowers, the hillside, and the sunset. So, I think it worked! This is the most thought and preparation I have ever put into a soap, and I have Amy to thank for it!

Beautiful and delicate. Your soap reminds me of the mountains back home. I love the artistic touch and your colors!
LikeLike
Thank you! I love your soap, too! The roses are lovely.
LikeLike
This is a really unusual and clever technique.
LikeLike
Thank you, Claire!
LikeLike
Hey, we chose pretty much the same photo for our inspiration! Great minds… 😉
Beautiful landscape and a beautiful soap. You hit the dreamy quality of the photo and I love the colours 🙂
LikeLike
I saw that! That is so weird. It looks like your inspiration pic was taken just before mine, when the sun was still up. So pretty!
LikeLike
I love your take on this challenge, Teresa! It really brings out the more abstract design, and it’s oh, so lovely!!
LikeLike
Thank you, Amy! I love your challenges.
LikeLike
Beautiful soap, love the colors
LikeLike
Thank you!!
LikeLike
your colors came out so well to go with your inspiration photo! Love all that springy beauty!
LikeLike
Thank you, Cris!
LikeLike